HelpGetting started
Getting started
Henchkin gives you AI bots with computers in the cloud to work on. You tell a bot what you need in a chat, and it gets on with it, checking in only when it needs you. Here is how to go from nothing to your first finished job.
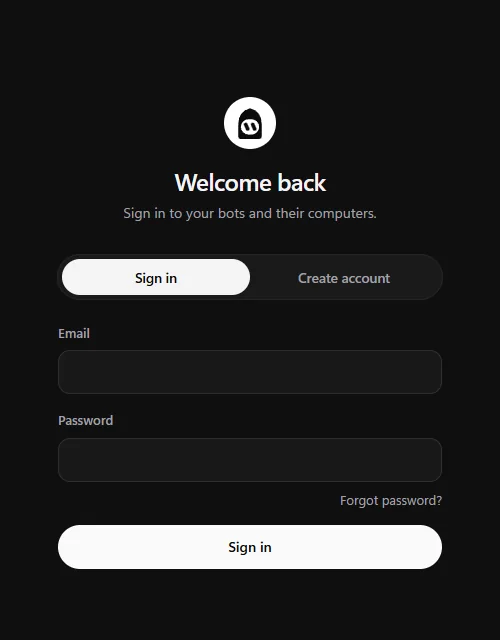
1. Make your account
- Go to app.henchkin.com, or open the desktop or phone app.
- Choose Continue with Google, or type your email and a password (at least 12 characters).
- We email you a 6-digit code. Type it in to finish. Each new sign-in asks for a code like this, so nobody gets in with just your password.
2. Pick a plan
Next you choose a plan. Plans start at $5 a month for 5 bots, and your first month of Starter or Plus is 80% off. You can change or cancel any time. See Plans and billing for what each plan includes.
Your plan pays for your bots and their computers, and includes AI usage and voice minutes every month, so there is nothing else to sign up for. You can also connect an AI plan or API key of your own; its provider bills you for it.
3. Create your company
Your bots live and work inside a company, with its own apps and passwords. Type a name, pick a colour and a shape, and choose Create company. You can add more companies any time. See Companies.
4. Make your first bot
On a new account the steps open by themselves. After that, choose the + button next to the search icon at the top left. There are four steps, and the dots at the top show which one you're on.
- Name and look. Give the bot a name, then pick a colour, a shape and a pattern. Or choose Start from a template (for example, Executive Assistant or Researcher), which fills in the name, the look and the instructions for you to check.
- AI model. Every bot needs an AI model to think with. If you haven't connected one, do it right here: sign in with your ChatGPT, Claude or Grok plan, paste the key from a MiniMax, Kimi or Z.ai plan, or add an API key. If you have, pick which one this bot uses. More detail is in Connect your AI.
- Computer. Choose Private for a computer of its own, or Shared to share logins and files with your other bots. On Starter, bots share, so Private needs a bigger plan. None is for a bot that only chats, with no browser or terminal.
- Instructions. Choose Talk it through on a call: the bot speaks first, asks what you need, and writes it up for you to check. Calls use your plan's voice minutes; once they run out, you can add an OpenAI API key of your own. Or choose Write it yourself and say what the bot should do, in your own words. You can change this any time. Then choose Save and start.
5. Give it a job
Type what you need in the message box, as you would to a person. For example: "Find three quiet mechanical keyboards under $120 and compare them in a table." The bot introduces itself, asks anything it needs, then gets to work on its computer. You can watch, or close the app and come back later.
Good to know
- Bots ask before anything that matters: paying, sending messages for you, or deleting things. See Questions and approvals.
- Make one bot per job. A bot with one clear role (inbox, research, invoices) does better than one that does everything.
Still stuck? Open Support from your account menu in the app, or email hello@henchkin.com. We usually reply within a day.